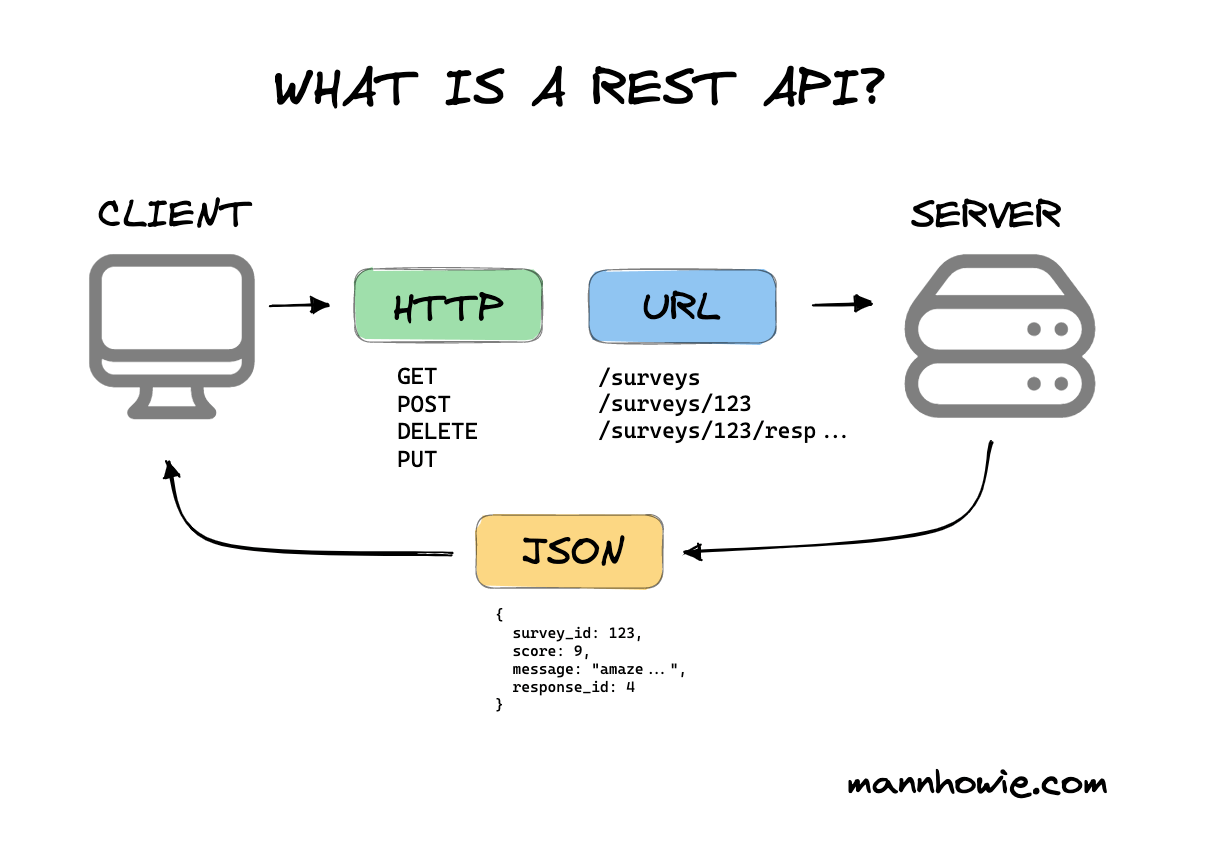
Swagger
通过Swagger规范,只需要按照规范去定义接口及接口相关的信息。再通过Swagger衍生出来的一系列项目和工具,就可以做到生成各种格式的接口文档,生成多种语言的客户端和服务端的代码,以及在线接口调试页面等等。
Swagger注解内容 Controller层中 类与方法定义说明 @Api 标记一个Controller类作为Swagger文档资源 主要参数
tags:说明该类的作用,参数是个数组,可以填多个。
代码示例
@Api(tags={"用户接口"}) @RestController public class UserController {}
@ApiOperation 用于方法上,说明方法的作用,每一个接口的定义 主要参数
value=”方法的用途和作用”
方法参数说明 @ApiParam 用于方法的参数说明 主要参数
name=”参数名称”
代码示例
@ApiOperation(value="新增用户", notes="详细描述") public UserDto addUser (@ApiParam(value = "新增用户参数", required = true) @RequestBody AddUserParam param) {}
@ApiImplicitParam 用于方法上,为单独的请求参数进行说明 @ApiImplicitParams 是组装了多个@ApiImplicitParam 主要参数
name=”参数ming”
代码示例
@ApiImplicitParams({ @ApiImplicitParam(name = "id", value = "用户ID", dataType = "string", paramType = "path", required = true, defaultValue = "1") }) @GetMapping("/user/{id}") public UserDto getUser (@PathVariable("id") String id) { return new UserDto (); }
方法响应说明 @ApiResponse 用于方法上,根据响应码表示不同响应 @ApiResponses 组装多个@ApiResponse code="404" 表示响应码(int型),可自定义 message="状态码对应的响应信息"
示例代码
@ApiResponses({ @ApiResponse(code = 200, message = "OK", response = UserDto.class) }) @PostMapping("/user") public UserDto addUser (@ApiParam(value = "新增用户参数", required = true) @RequestBody AddUserParam param) {}
model实体层中 @ApiModel 用于响应实体类,用于说明实体作用 主要参数
value=”model实体类的简要说明”
@ApiModelProperty 用于属性上,描述实体类属性 主要参数
value=”属性简要说明”
示例代码
@Data
@ApiModel(value = "com.biancheng.auth.param.AddUserParam", description = "新增用户参数")
public class AddUserParam {

    @ApiModelProperty(value = "ID")
    private String id;

    @ApiModelProperty(value = "名称")
    private String name;

    @ApiModelProperty(value = "年龄")
    private int age;

}
Swagger 在线测试接口 接口查看地址可以通过 服务地址/swagger-ui.html 来访问
示例
http://localhost:9999/swagger-ui.html#/
swagger-ui.html页面导出
将html页面导出为静态文件
ASCIIDOC
MARKDOWN
CONFLUENCE_MARKUP
可能需要的步骤
配置setting.xml文件
在本地电脑中idea下载的maven路径中配置setting.xml文件
以本机为例:C:\Users\Matt.m2
文件内容(配置阿里云镜像)
<?xml version="1.0" encoding="UTF-8" ?> <settings xmlns ="http://maven.apache.org/SETTINGS/1.0.0" xmlns:xsi ="http://www.w3.org/2001/XMLSchema-instance" xsi:schemaLocation ="http://maven.apache.org/SETTINGS/1.0.0 http://maven.apache.org/xsd/settings-1.0.0.xsd" > <mirrors > <mirror > <id > nexus-aliyun</id > <mirrorOf > *</mirrorOf > <name > Nexus aliyun</name > <url > https://maven.aliyun.com/repository/jcenter</url > </mirror > </mirrors > </settings >
添加至pom.xml <plugin > <groupId > io.github.swagger2markup</groupId > <artifactId > swagger2markup-maven-plugin</artifactId > <version > 1.2.0</version > <configuration > <swaggerInput > http://localhost:9999/v2/api-docs</swaggerInput > <outputDir > src/docs/asciidoc/generated</outputDir > <config > <swagger2markup.markupLanguage > ASCIIDOC</swagger2markup.markupLanguage > </config > </configuration > </plugin >
转换导出文件类型 包含 html pdf <plugin > <groupId > org.asciidoctor</groupId > <artifactId > asciidoctor-maven-plugin</artifactId > <version > 1.5.3</version > <dependencies > <dependency > <groupId > org.asciidoctor</groupId > <artifactId > asciidoctorj-pdf</artifactId > <version > 1.5.0-alpha.10.1</version > </dependency > <dependency > <groupId > org.jruby</groupId > <artifactId > jruby-complete</artifactId > <version > 1.7.21</version > </dependency > </dependencies > <configuration > <sourceDirectory > src/docs/asciidoc/generated</sourceDirectory > <sourceHighlighter > coderay</sourceHighlighter > <attributes > <toc > left</toc > </attributes > </configuration > <executions > <execution > <id > output-html</id > <phase > generate-resources</phase > <goals > <goal > process-asciidoc</goal > </goals > <configuration > <backend > html5</backend > <outputDirectory > src/docs/asciidoc/html</outputDirectory > </configuration > </execution > <execution > <id > output-pdf</id > <phase > generate-resources</phase > <goals > <goal > process-asciidoc</goal > </goals > <configuration > <backend > pdf</backend > <outputDirectory > src/docs/asciidoc/pdf</outputDirectory > </configuration > </execution > </executions > </plugin >
配置完成过后 执行maven命令
需要配置本机maven环境
以idea为例,Terminal窗口
mvn swagger2markup:convertSwagger2markup

mvn generate-resources